Sunday, July 8, 2012

Master Bath Love

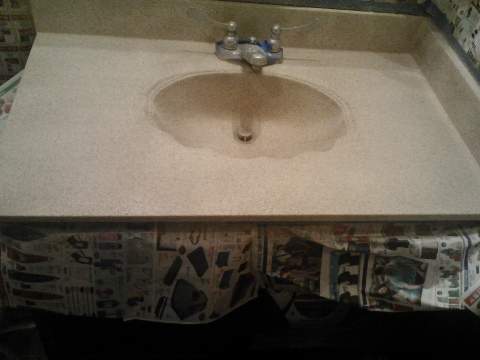
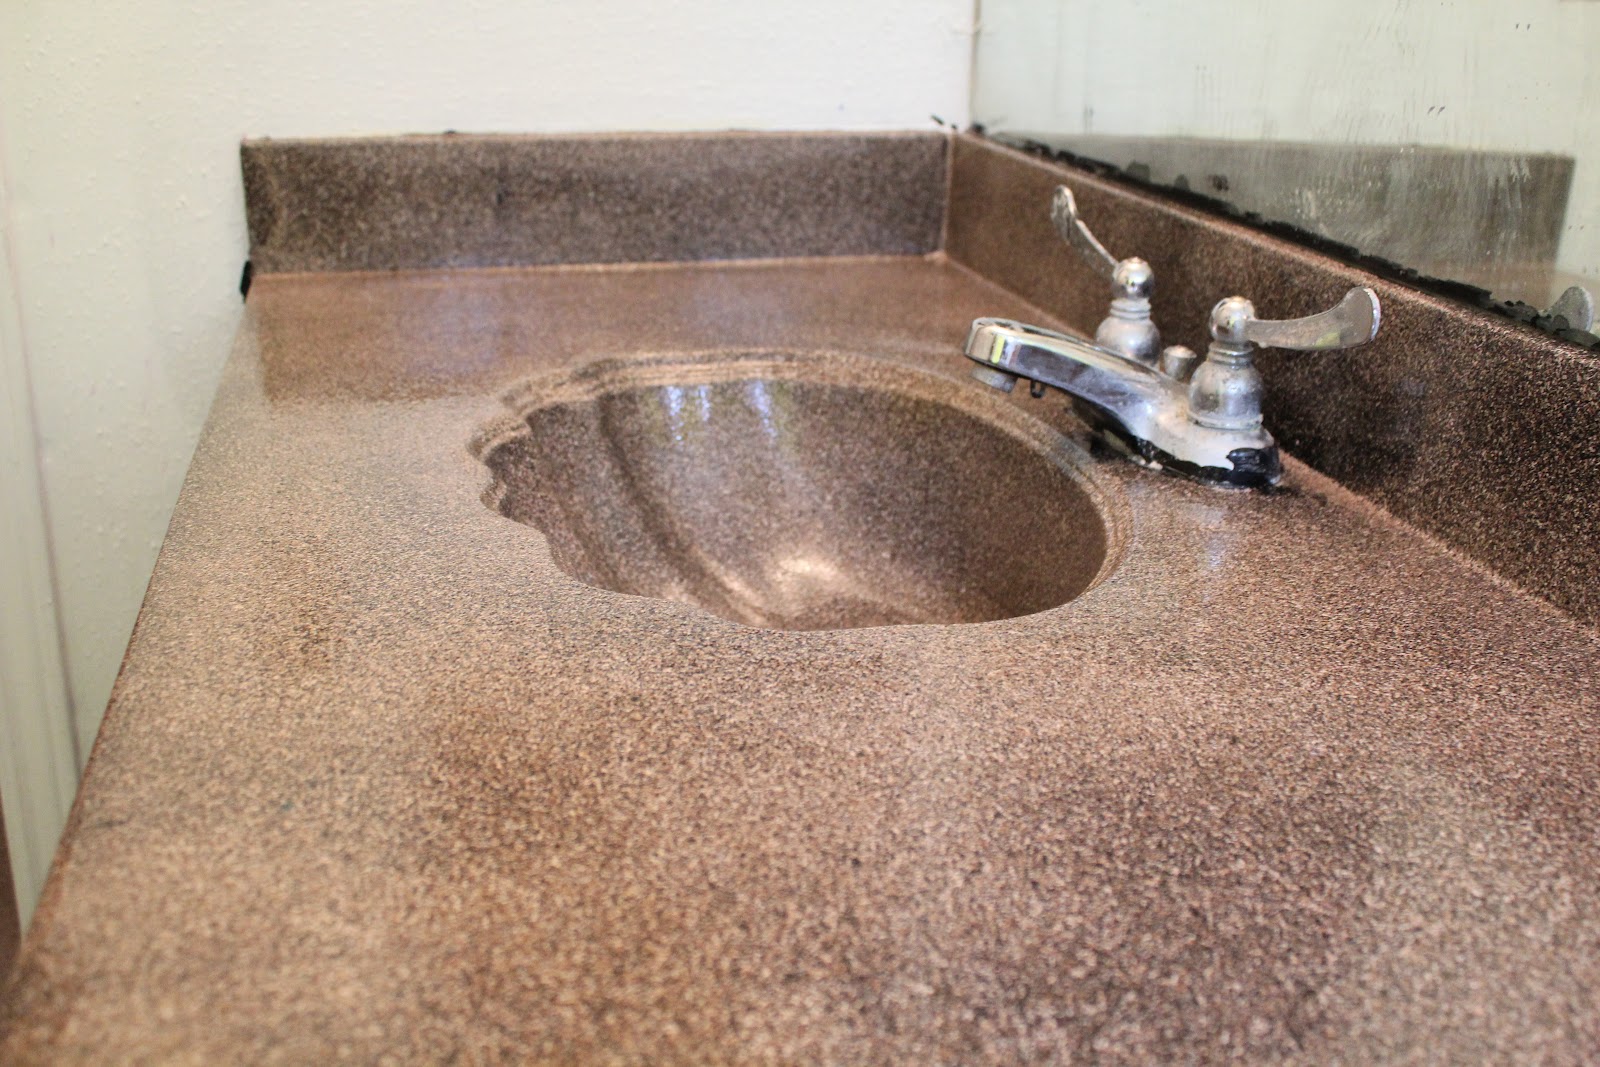
After refinishing the girls' bathroom counter top, I tackled ours.  It's smaller but was just as ugly.

Gross counter top. AND ugly old mirror. Blech.


Same principle....sand, spray fleck and seal. The only difference (besides the brand) was that I didn't have a base coat of black. So the end result is a lighter stone look,.

This time I used a KRYLON brand - Make It Stone Texture Paint...instead of the Rustoleum brand.  I purchased the KRYLON brand at Michael's. It was around ten dollars. The sealer was around ten dollars.


I did three coats of the stone spray and let each coat dry before adding the next.  I allowed it to dry completely over night before I did two coats of sealer.

Again, tape off everything to protect mirrors, cabinets etc.

This is after the third
coat.


SOOOO much better.

Today I am moving everything back to the counter top and it
looks great~


Sunday, July 1, 2012

Entry Wall Love

Last year I laid the peel-n-stick floor in this entry and painted a fresh coat of white paint on the door. The original floor was scuffed, dented, damaged and dull when we moved in the home. The door was marked and scratched. This week I touched up the trim and door and painted the walls a great shade of gray. When we moved in, the trim was all painted brown from the wall, dirty and gross.


This was before....right after I laid
the floor.


This is after fresh trim and door paint
and grey on the walls. 


Kitchen Love....again

When we moved in this house, I painted the kitchen cabinets a nice and fresh white.  Far better than the dirty and yellowing stained up paint that was there on every door.

This is painting the cabinets white with a broken dishwasher
at the same time. But you
get the general idea.


The brown on the walls had been stained and oil damaged from the previous owners. There were gaps in the taping and floating under the paint that tree roaches found their way in the house constantly. Painting the walls a fresh white paint cleaned up the oil and stain damage.

I painted the cabinets a dark chocolate seeing as how the white paint never stayed white.


The white walls make it so much more cleaner
looking. 


Bathroom Counter Love

After painting over the peeling, damaged wallpaper and laying the floor tile, the countertop needed updating as well.


Up there is the 'before'. When I painted the bathroom and the vanity HERE, I just was not happy with the counter top.

I sanded the counter (which removed a lot of the rust stains present when we moved in) and painted it black and then sealed it. It really did look good.  I loved it, in fact.


Along with the obvious of the photo above, I want to point out the state of this rent house when we moved in.  Reasons that I attempt Rent House Love is so that I don't wallow in self pity of the cardboard box with holes we reside in. The faucet is ridiculously covered in calcium deposits. The mirror is horrible and chipped from the back. I've yet to find an outlet cover for the plug outlet there...there wasn't one when we moved in.

I moved to a more durable yet attractive idea. Granite.

Basically what you need is a Fleck Stone type spray....found at any hardware store or craft store. Some sand paper to roughen up the surface of what you're about to spray. And a sealer.  My best advice would be to get a self leveling epoxy that leaves a glass-like finish. I just did two coats of a sealer.

This is the spray I got at Home Depot.


Protect everything around the area
you are treating.


This is the first coat. Be sure and SAND before
the first coat. 


Allow it to dry for about an hour.
Then apply a second coat.


I later applied a third and fourth coat.


This is the seal I put on top.  I used three coats.
As I mentioned before, I would advise using a self
leveling epoxy for a glass-like finish. But a polyurethane
will work fine.


This is the finished product...thus far.


Wednesday, May 23, 2012

Mantle Love

About a year ago I painted the fireplace white.  I love it. It's so clean and unmuddled. The mantle hadn't changed since we moved in.  I put an end to that yesterday.

Lately I've been in the bedroom painting the doors and trim. When we moved in this rent house, almost every painted surface was the same color....taupe. The doors were 'white'...but yellowed horribly. The walls and trim were literally the same color.  I spent a lot time painting the doors, kitchen cabinets and the trim clean and white.

While moving things from behind the closet door that remains open at all times, there were a lot of my husband's show posters and small paintings....so I decided to put some to use instead of them just collecting dust.

Here's how the mantle's been :


And here's the present :


Friday, October 28, 2011

Rug Love

I love RIT dye. I really do.  Some of life's problems would be not so bad if we could just put RIT to it for a remedy.

When I redecorated my daughters' bathroom, they wanted hippy Beatles fare and I obliged.  Yellow and black seemed the colors that dominated. For whatever reason, whether it was a tumor on my Mom Judgement gland or temporary insanity or sniffing paint fumes, I chose yellow bath mats.

I'm better now.

With all the make up and hair dying that goes on in that bathroom, the bright yellow bath mats got freckled with a rainbow of color. And mama wasn't happy.  Enter - RIT DYE.

Rit Dye has a multitude of uses from carpet, clothing and upholstery to the more popular Tie Dyed garb.  Years ago I dyed some bath mats from orange to black ....once again for the girls' bathroom.  Apparently I don't learn my lessons.

So, here's the yellow rugs. All spotted with multiple
colors of hair dye.


The RIT Dye site will tell you exactly how to
dye your particular fabrics, for mine
it was with salt. 


I added salt to dissolve in one pot of water, while another
was getting ready to boil to ensure I had enough water
to cover the rugs. 


You can use a bathtub, sink, washer or as I did a
bucket to soak and agitate whatever
you're dying. 
*Make sure you follow
instructions as per the website HERE *


Then I threw them in a cold wash cycle for rinsing.


And they came out of the dryer like this!


And they look like this now.  Very cute!


I have totally forgotten to show you all the cute knobs I got at
Michael's a while back.

They were on sale a couple of bucks each.  

The girls think they're just awesome, and I agree.


Monday, August 22, 2011

Coming Soon!

I have decided that I'm going to re-finish the countertops in the bathrooms.  I pondered this for many moons.

I've researched and thought I had the PERFECT idea.  Until I took a chance and Googled something.  I worked with a paint in the past...and by the past I mean over 15 years ago.  It was a cool paint, with a cool effect.  And then I wondered - with the correct sanding, priming and finishing...could I use this for countertops?


The answer, my friends, is yes!

Instructions and photos to come soon.

Monday, August 8, 2011

Back Yard Love..Summer Edition

It's hot.  I cannot even describe how hot and give the heat justice.  We have had heat indexes from 109 to 115 degrees daily for the past few weeks. I try to not go outside at all unless I just have to.

The landlord promised years ago to remove a tree who's roots have grown almost to half the yard and into the foundation. Needless to say, these roots have killed and injured our mowers. Besides that, the brick that is laid to the side of the patio is next to impossible to remove and re-lay. Roots have grown under those bricks and all I can really do is keep it all 'tidy'.


Leaves have overcome the yard from the same tree
the landlord said he would remove. 


Yes, 2 BBQ pits. 
The UNEVEN brick-ness drives me crazy.

There it is, yall. 
  
A few months ago this was so pretty.
Thanks to the heat it looks like this.
I'm surprised they're even still alive!

My Snow White Carpet and Butterfly 'garden' is dead.
Unless I want a $600 a month water bill, something
had to go. 
Ugh.


It takes a lot of time to get rid of the leaves
from that tree. Sweeping and hosing the
bricks to at least make them appear nice


There's one dead mower the tree killed. 


Tuesday, July 5, 2011

Bathroom Love

The first thing I did in this bathroom was paint the walls.  When re-doing my girls' bathroom the first time, I just wanted the wallpaper wall gone.  It was peeling and bubbled and missing in some parts. I painted the walls originally the same brown, matched at Home Depot with their paint department. But white seems logical for how small the room is.


Then I painted the standard cabinets in white...which basically looked like THIS when we moved in. Instantly it made a wonderful difference. There were stains and chips and just worn down. So clean, so fresh.  And painted the baseboards...that were doo-doo as well.  I added hardware.  NOTHING in this rent house had hardware, which is awful for wear and tear on any cabinet or drawer.

Then I laid the floor.

So here's the first 'AFTER'..that's actually this posts 'BEFORE' :


We found a Yellow Submarine shower curtain.  I purchased it HERE.  Then I found a Beatles print at Walmart and framed it and put it up.

This is before I painted the walls white. 

Another view - doo-doo- brown. 

I want you to notice the door.  This is one door not painted since we moved in.  
Imagine the entire house like this, when we moved in.
This is the TYPICAL of each door in this house upon move-in.

And at the bottom of the door is all damaged from the 
prior tenants that I can only assumed
locked a pet in here. 


I spent the 4th of July painting that bathroom.